
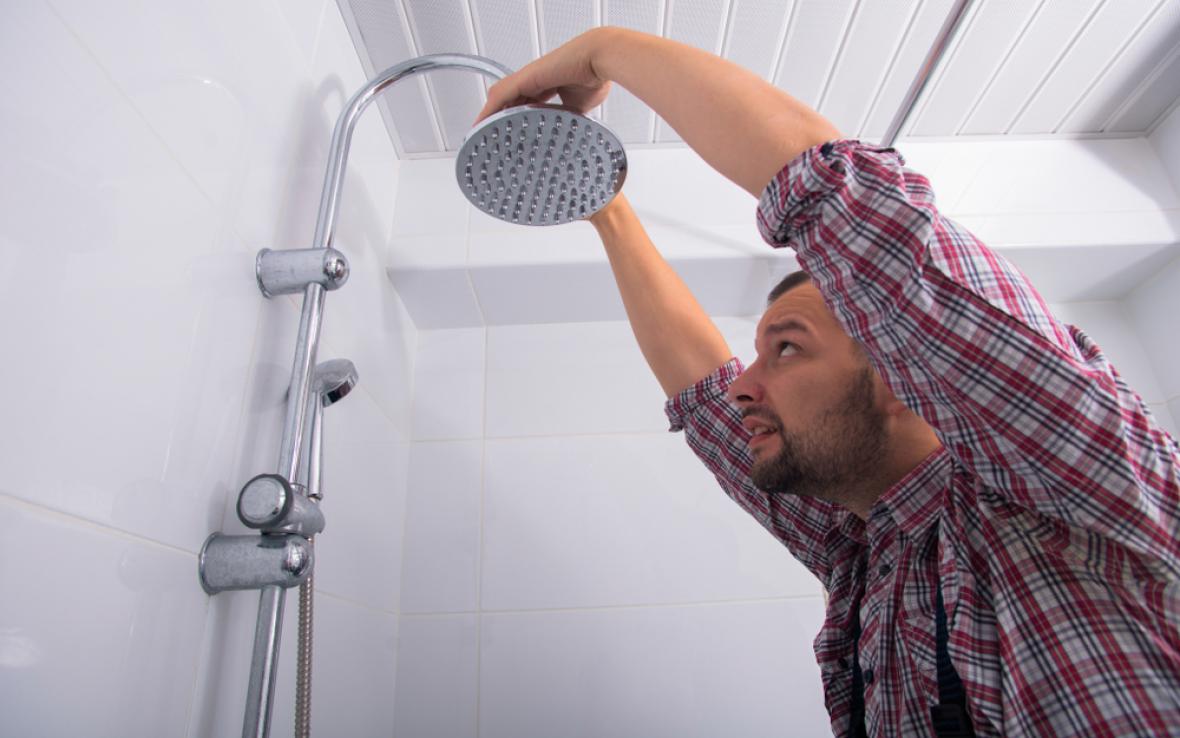
If you need to replace your showerhead because your current showerhead is outdated, or you need to save water with a newer, low-flow model, the plumbing professionals at Roto-Rooter are here to help. While showerhead replacement can be a simple process, it is an easy one to get wrong.
You can follow the step-by-step process below provided by the expert plumbers at Roto-Rooter to replace your showerhead. With the assistance of an adjustable wrench or set of channel lock pliers, as well as Teflon tape (or plumber’s tape as it is known), you can accomplish a showerhead replacement by performing the following steps:
- Remove your old showerhead with a wretch, while holding onto the shower arm, so it doesn’t get twisted and break off at the wall.
- Remove any gunk and excess material like dirt, rubber gaskets or old plumber’s tape from the threads of the shower arm.
- Wrap the threads of the pipe with Teflon or plumber’s tape.
- Using a wrench, tighten the shower head onto the shower arm. A pair of channel locks will also be used to hold the shower arm in place to prevent it from twisting or breaking. The jaws of the channel locks will also be wrapped with tape so not to scratch the shower arm.
- Check for any leaks around the seal.
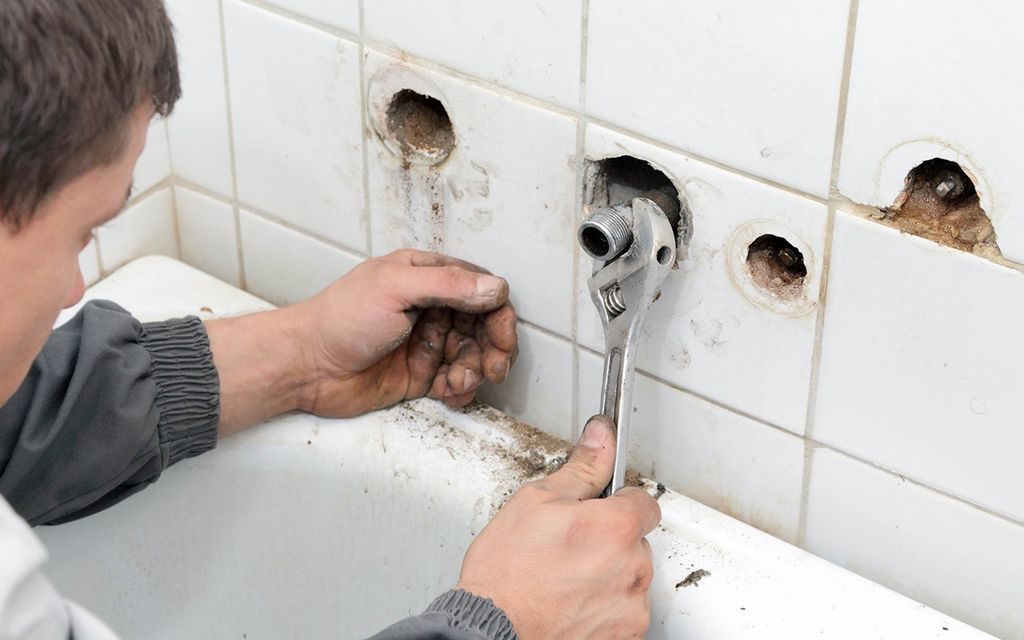
HOW TO REPLACE A SHOWER ARM
Your may also need to replace the shower arm if it is damaged or leaking and will take the following steps to ensure a safe shower arm replacement:
- Grasp the shower arm, while carefully unscrewing it in a counterclockwise motion.
- After removing the old shower arm, locate the female fitting inside the wall and clear any loose dust or debris, while applying pipe dope to the female threads.
- Plumbing tape should be wrapped around each male end of the shower arm.
- Put the arm into the hole in the wall and begin screwing it in a clockwise motion (righty-tighty, lefty loosey). Using a pair of channel locks, with the jaws wrapped with tape, tighten the arm until it is snug and secure, while also being careful not to overtighten, as it could break off.
- Your showerhead will be installed on the male end that is exposed, after the threads are wrapped with Teflon tape and we check for leaks around the seal.
THINGS TO CONSIDER WHEN REPLACING YOUR SHOWERHEAD
Your new showerhead replacement should be ready to go. If you’re thinking about buying a rain showerhead, here’s what you need to know:
- Determine whether your shower is large enough.
- Upon installation, we will ensure that your rain showerhead is angled properly when mounted onto the arm. If it’s not installed correctly, water will dribble out one side.
- For a rain shower, your licensed plumber will need to place the arm at a 90 degree angle to achieve a rainfall effect.
- There are rain showerheads that are designed to conserve water, but many models can use a large amount of water, compared to conventional low flow showerheads that use as little as 1.5 gallons per minute.
HAVING TROUBLE REPLACING YOUR SHOWERHEAD?
Call one of our licensed plumbers at Roto-Rooter to come out and have your showerheads replaced professionally if you run into issues following the steps above. If you have questions or concerns regarding scheduling service to have your showerhead professionally replaced, or need consultation regarding a new showerhead purchase, contact the plumbing experts at Roto-Rooter today. We are available to you 24/7, when you need service most. Our showerhead replacements can be done quickly and efficiently—just call 800-768-6911 to learn more.